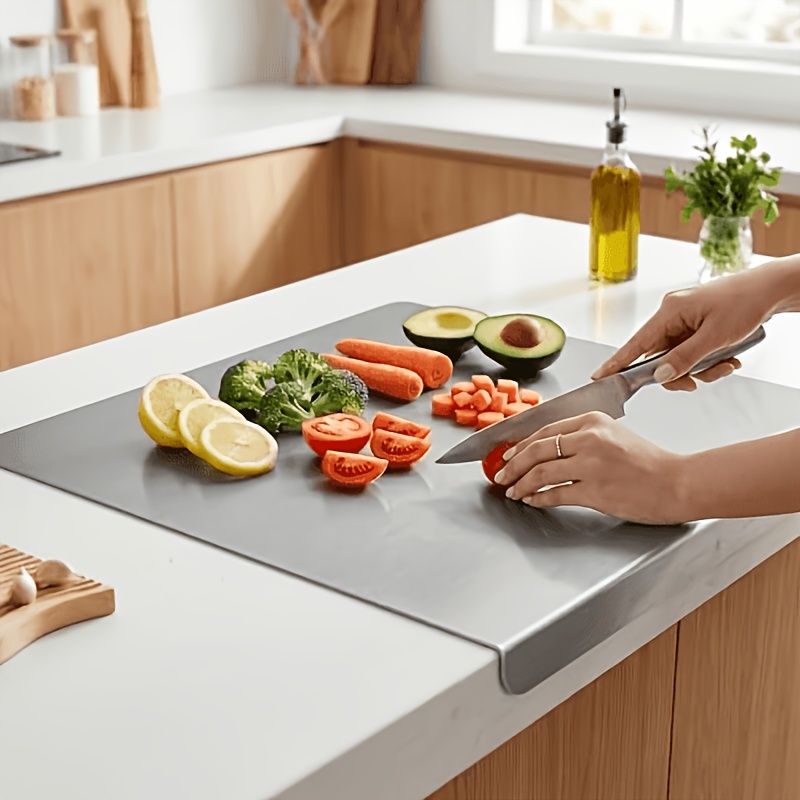
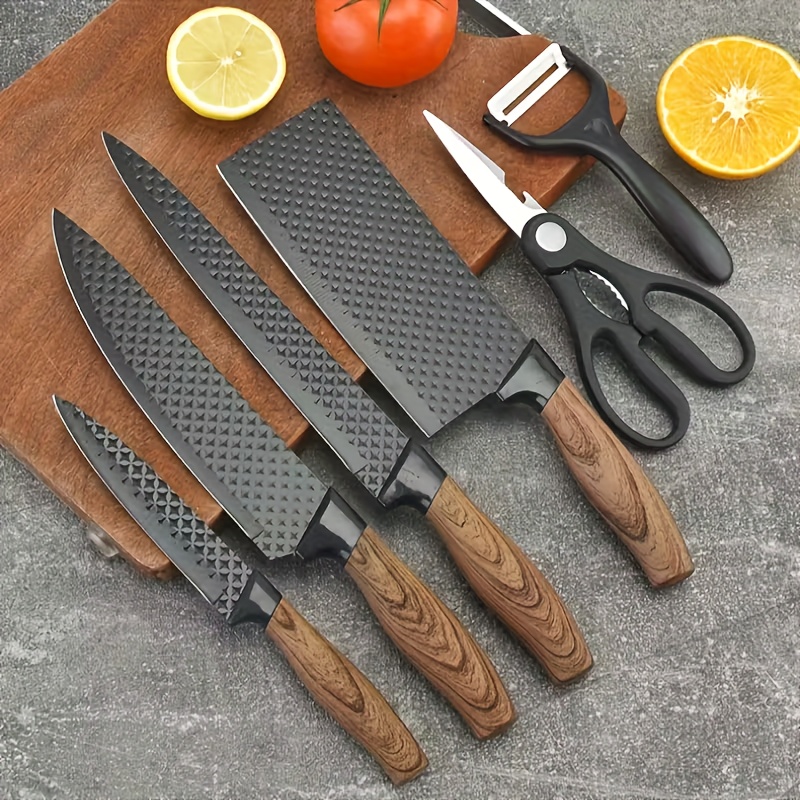
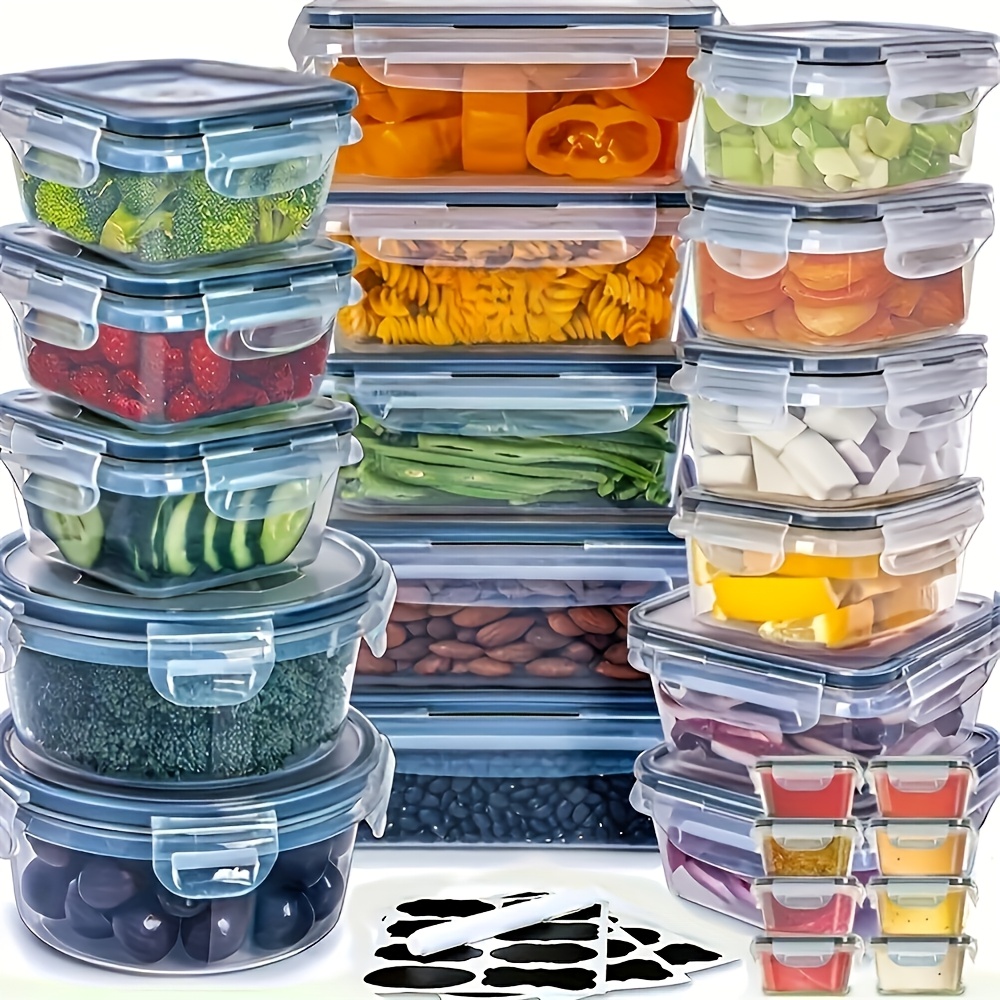
3 Clever Kitchen Gadgets Worth Checking Out
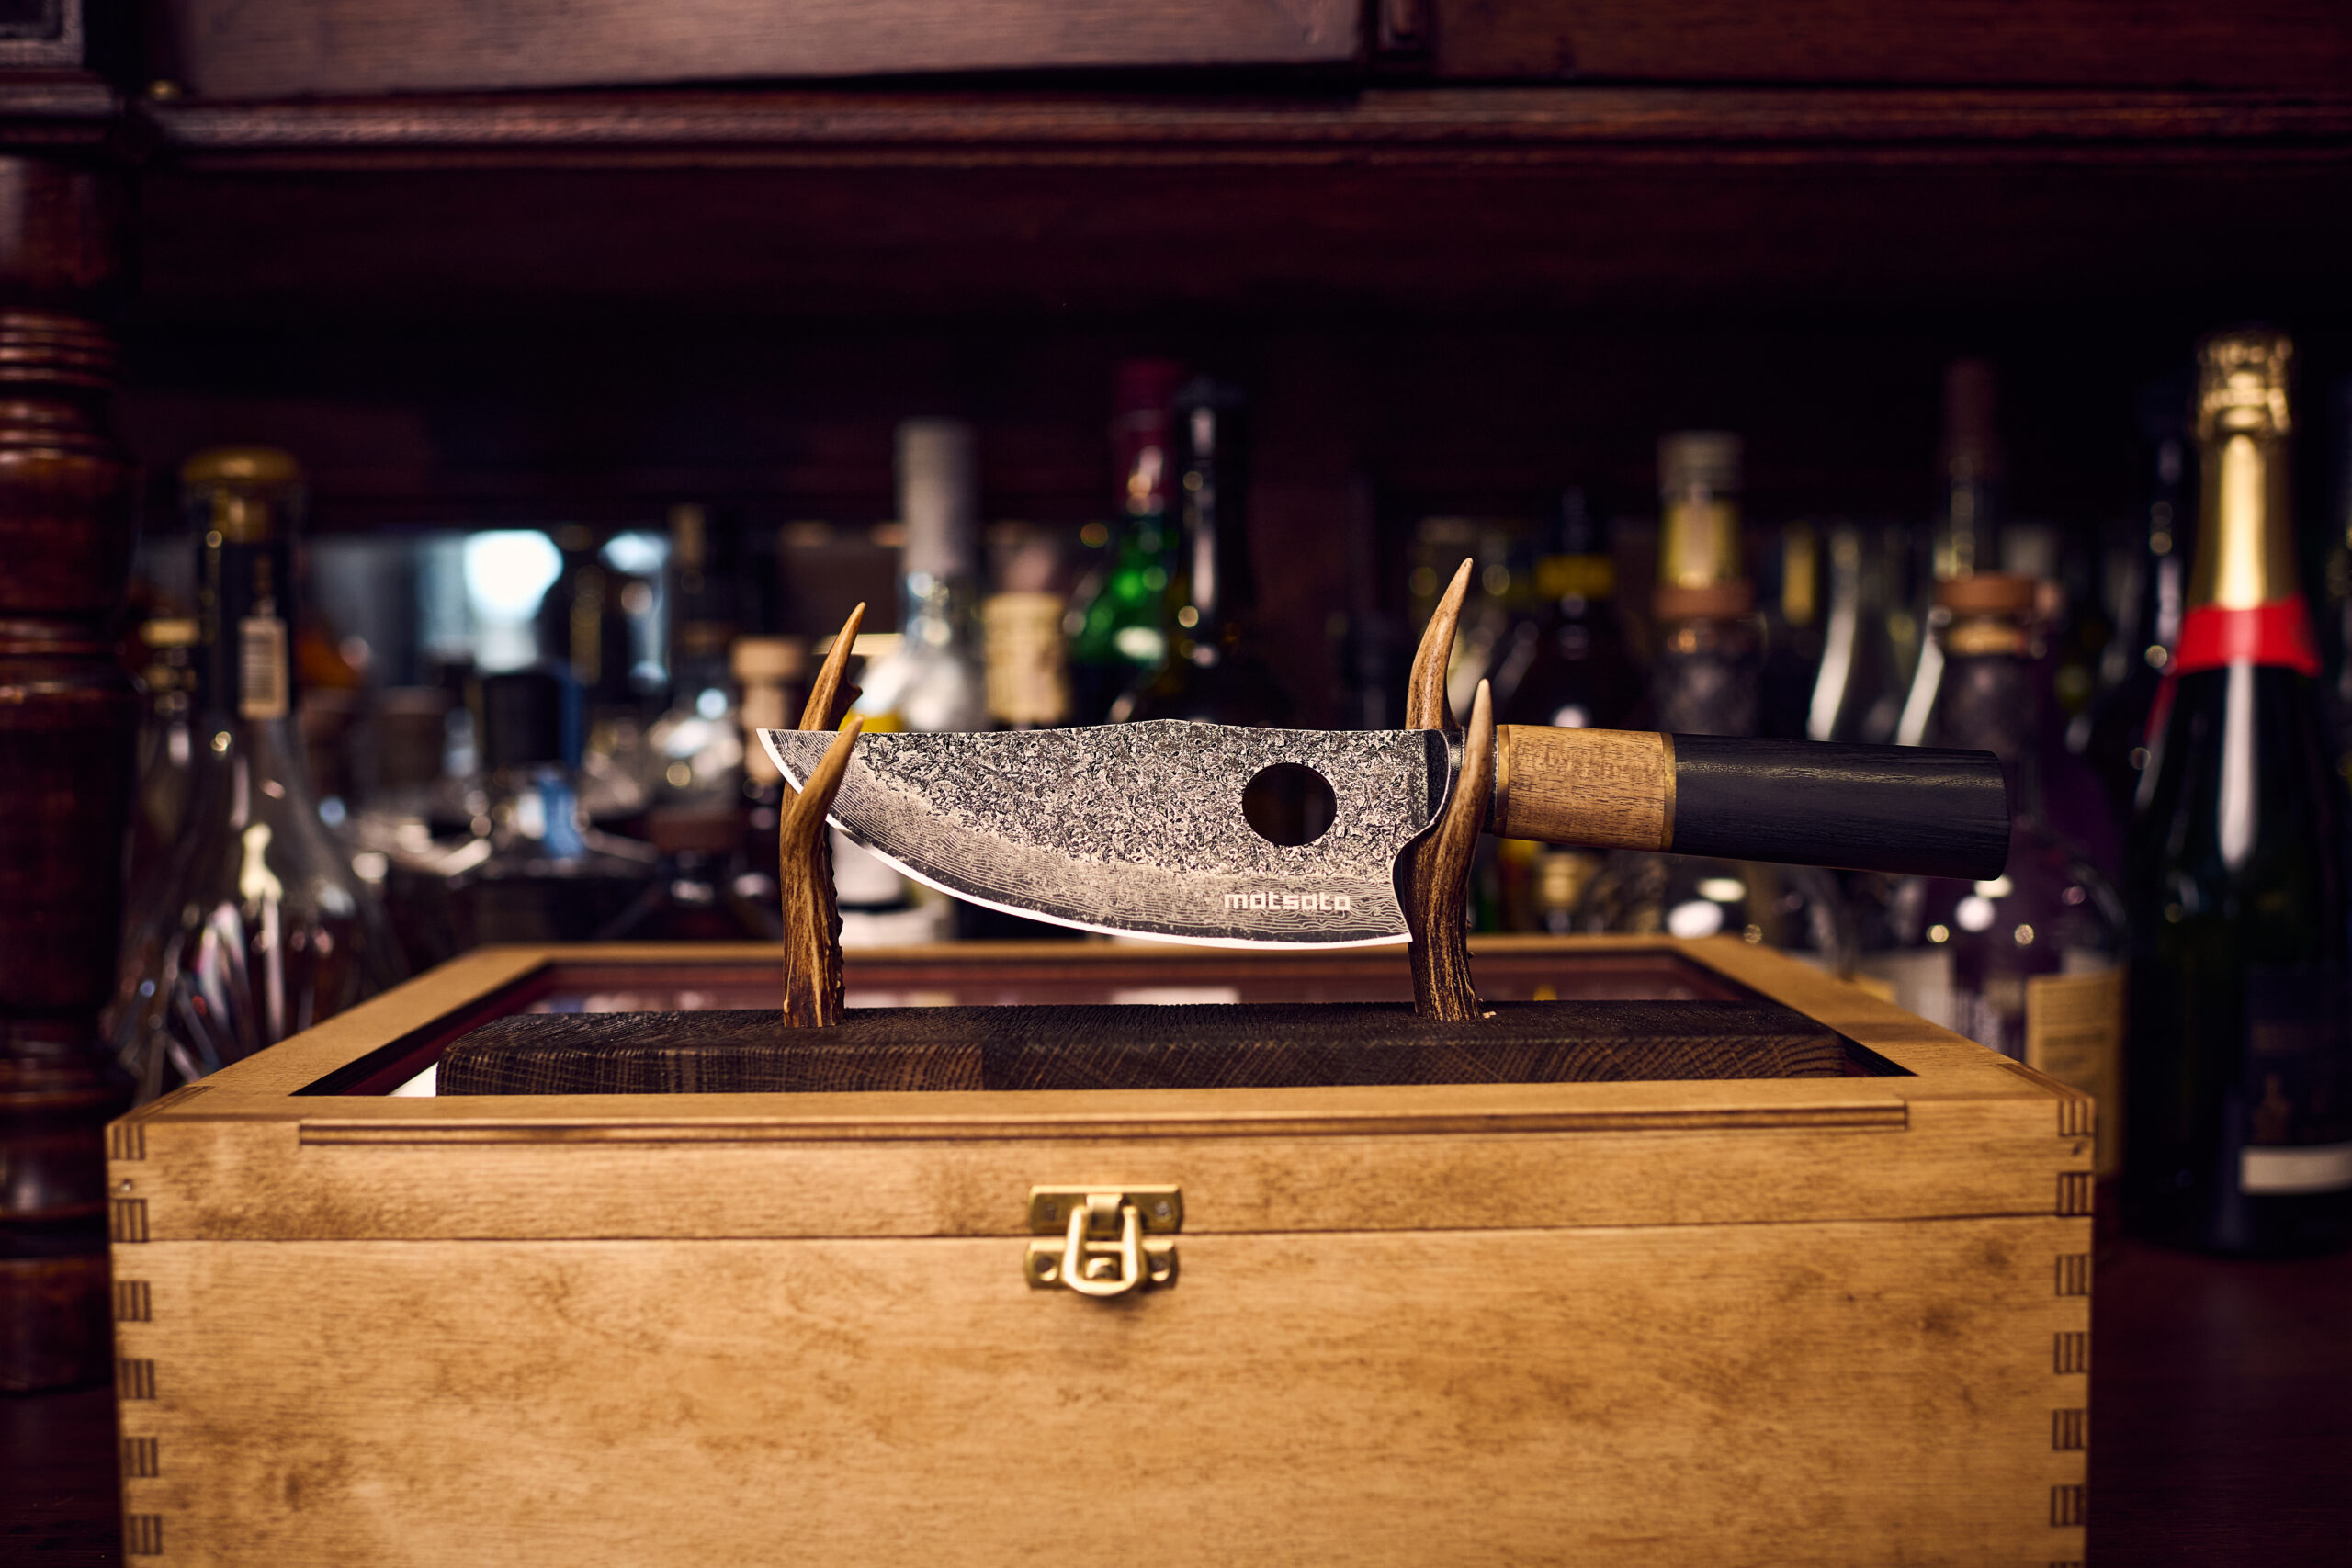
These handy little gadgets make cooking easier — and they're actually pretty cool.


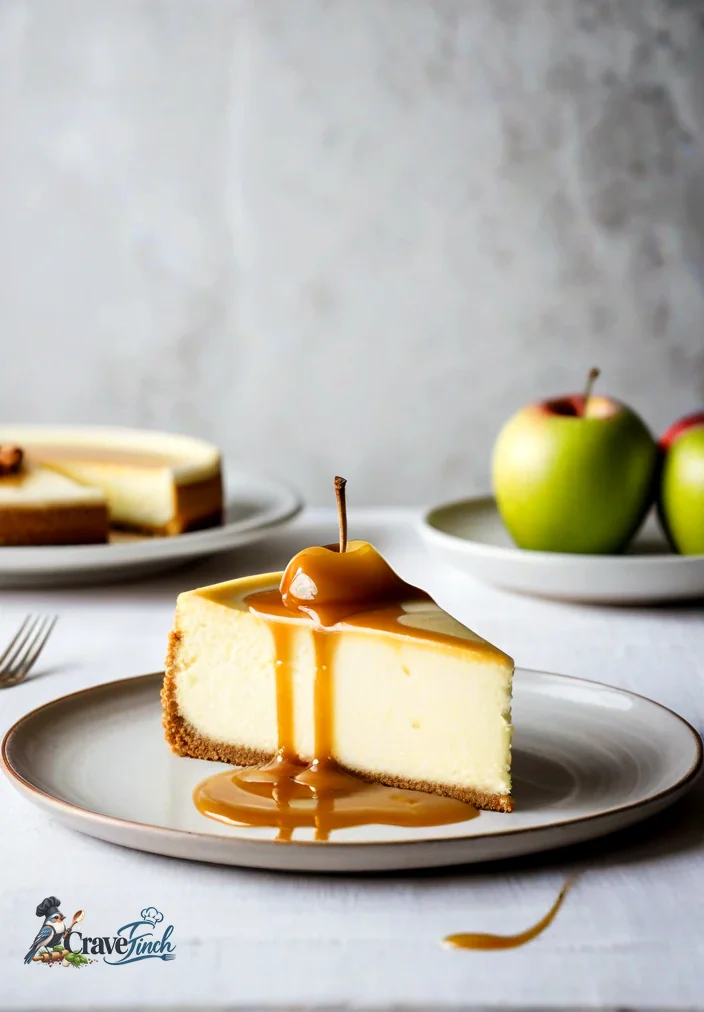
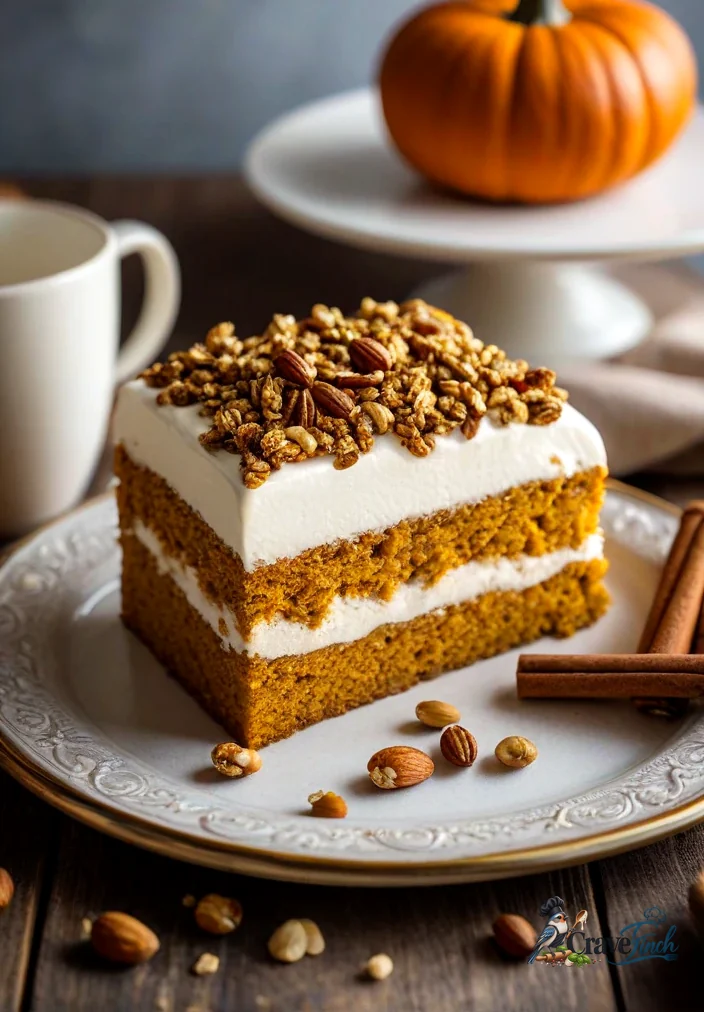
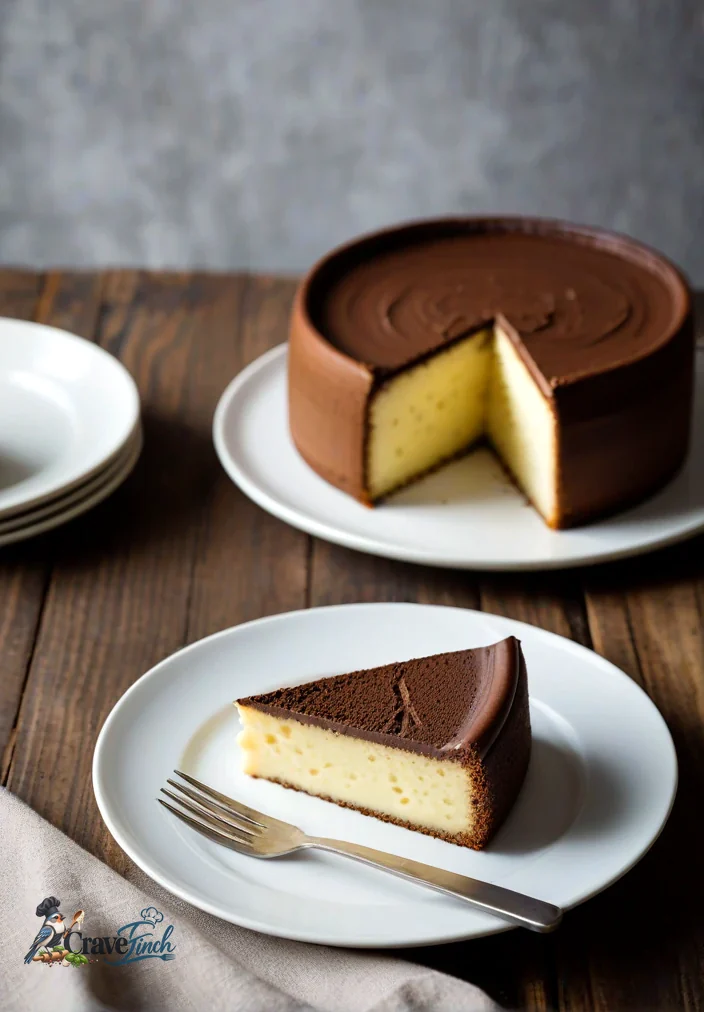
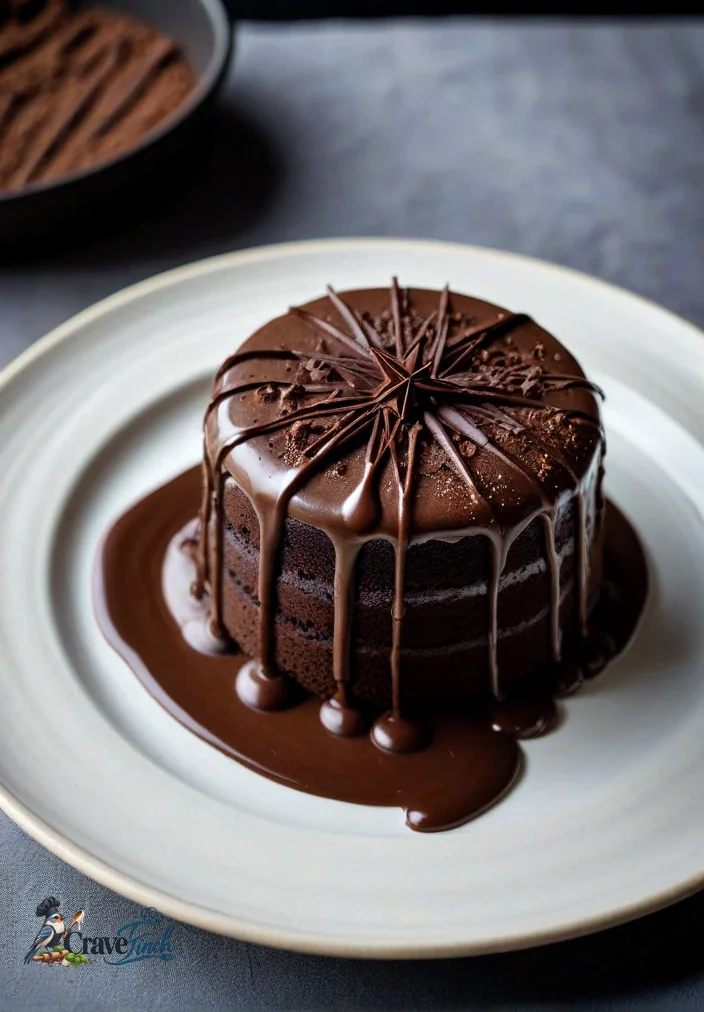
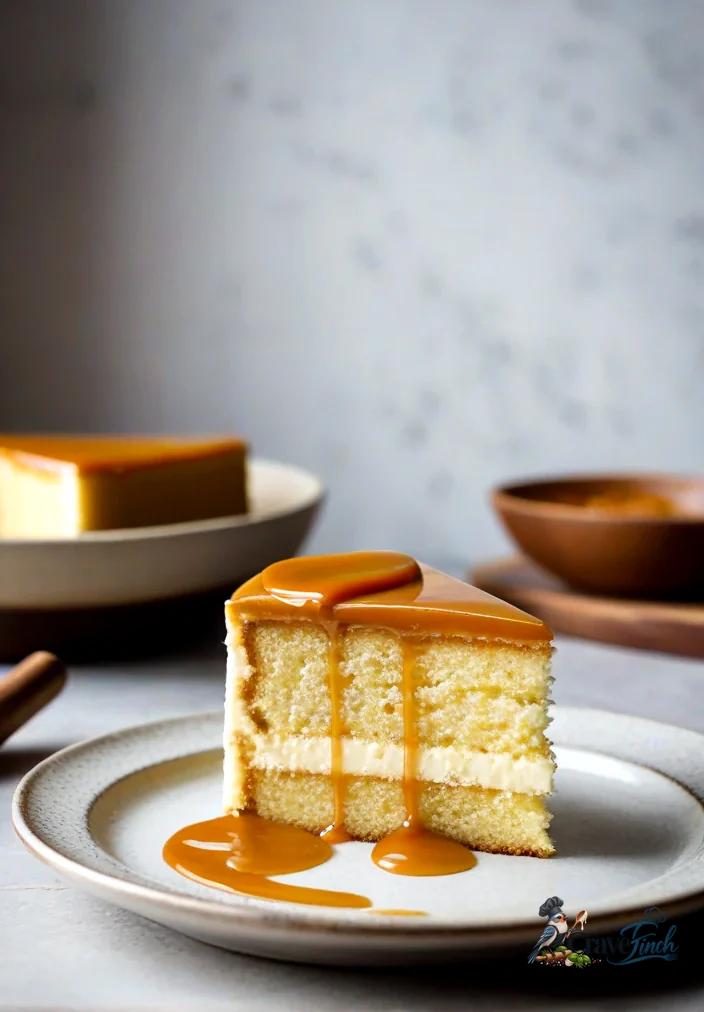
If you’re ready to impress at your next celebration, this Decadent Caramel Layer Cake is your ticket to indulgence. With layers of fluffy vanilla cake smothered in rich caramel glaze, this dessert is not only visually stunning but also bursting with flavor. Perfect for birthdays, anniversaries, or any special occasion, this cake will have everyone reaching for seconds.
Why You’ll Love This Recipe
This caramel layer cake is a showstopper that combines simplicity with elegance. The interplay of textures and flavors makes it irresistible.
6 Kitchen Finds You May Be Able to Get for $0
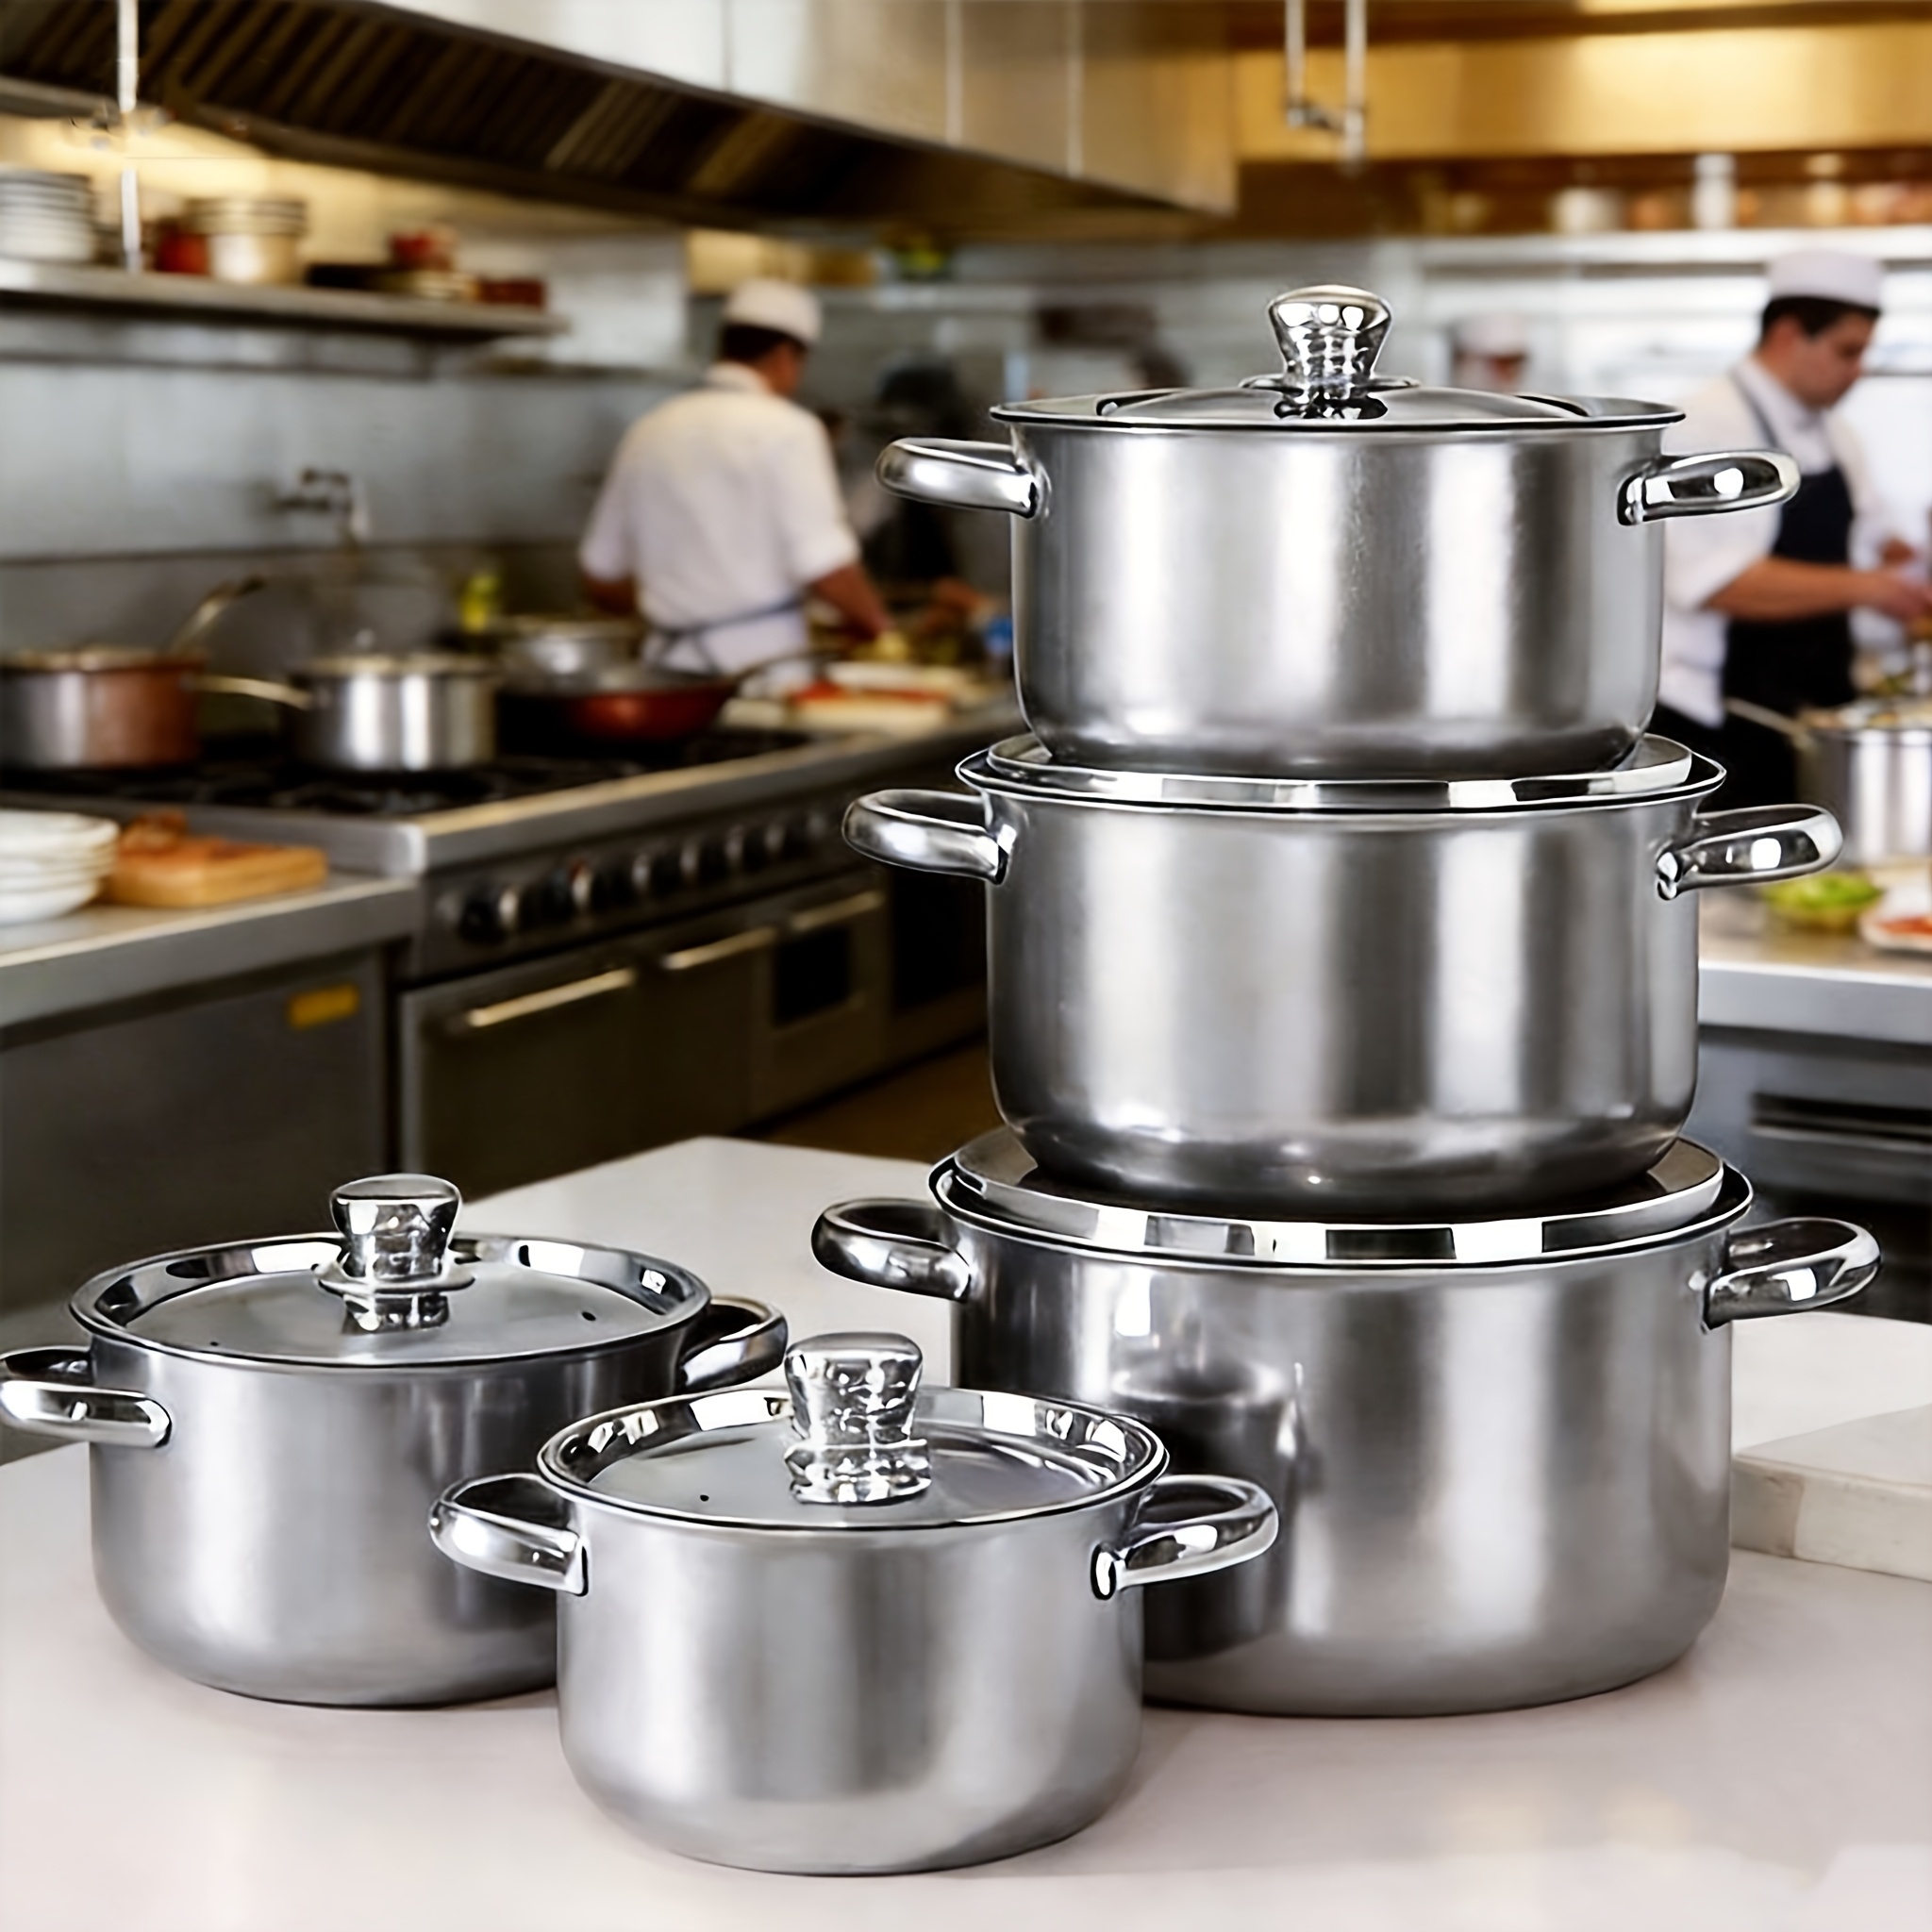
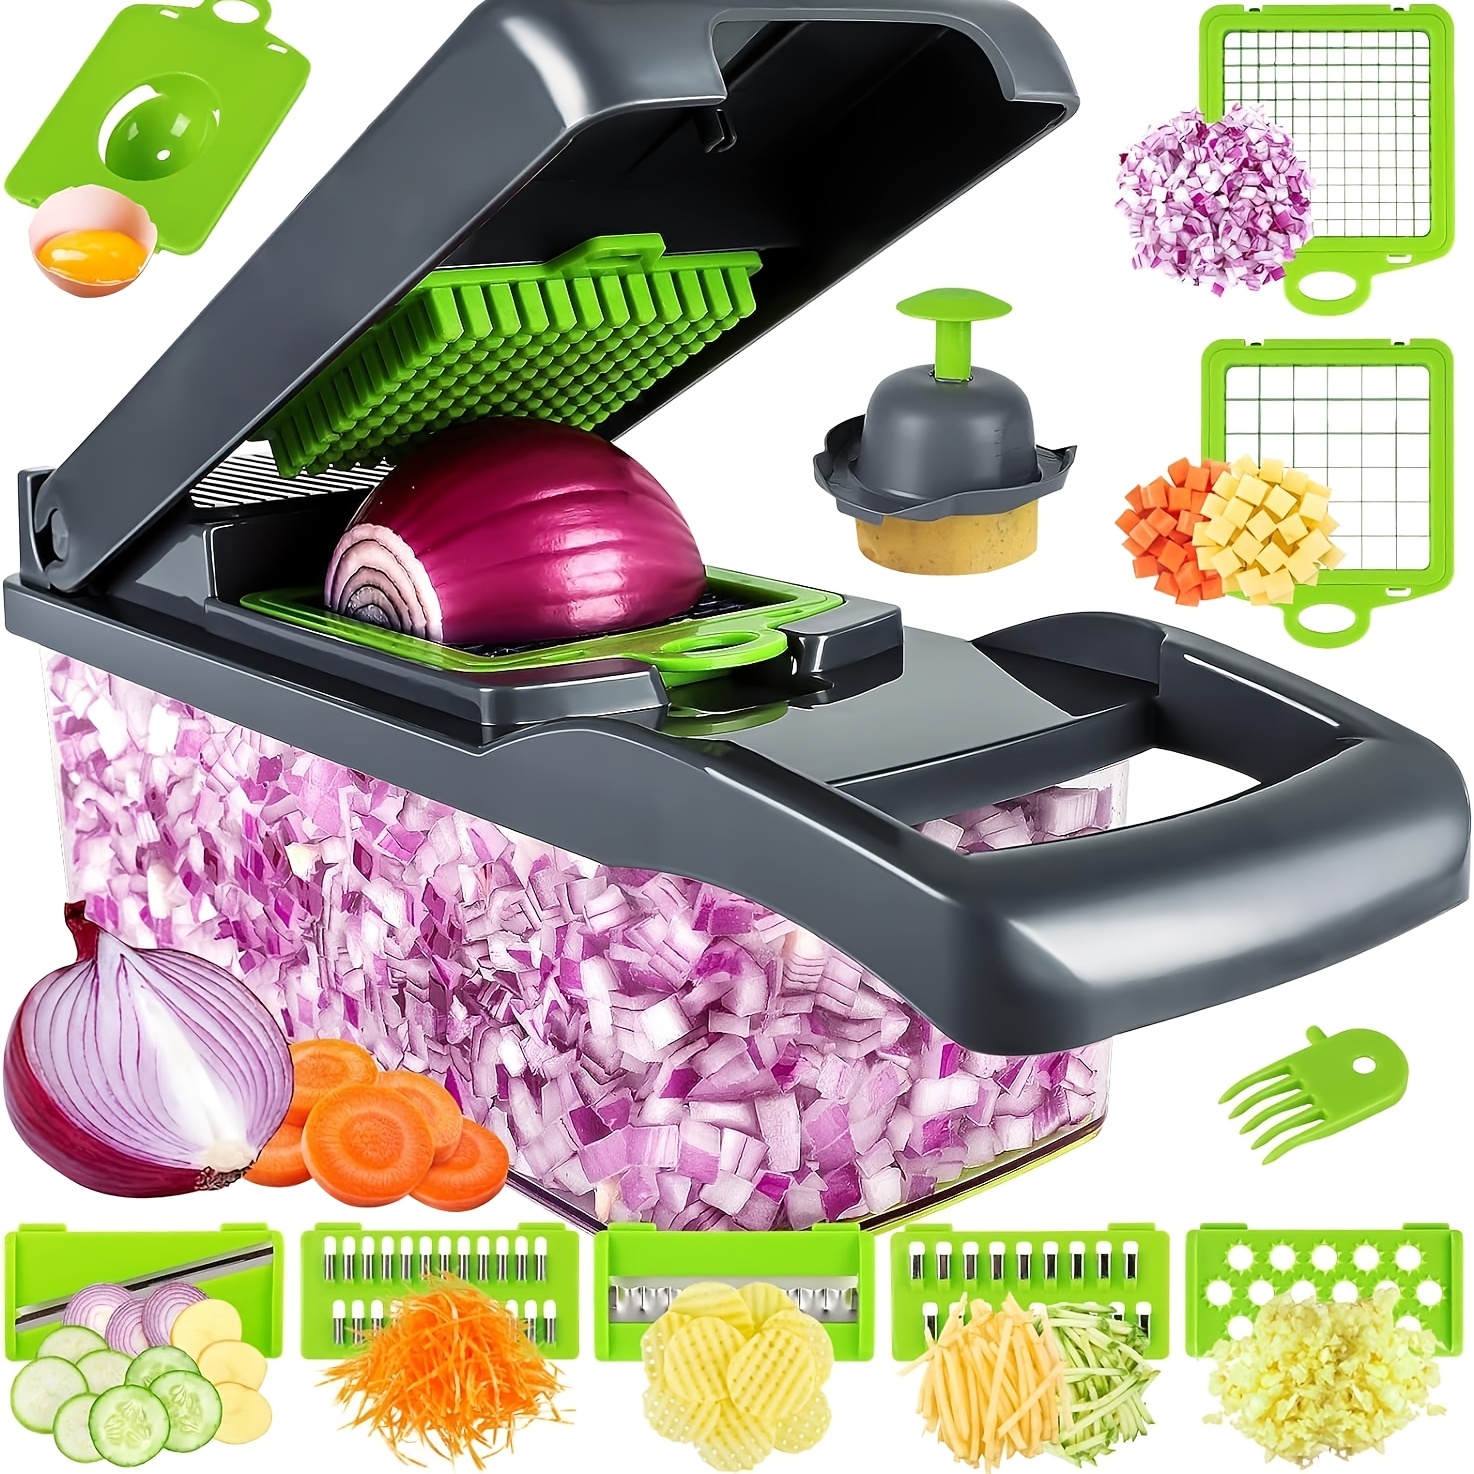
Temu is currently showing these kitchen products as $0 gifts for eligible app users with qualifying orders. Tap any item below to check the current offer.

- Decadent Flavor: The smooth caramel and fluffy cake create an unforgettable taste sensation.
- Visually Stunning: This cake is a feast for the eyes, perfect for impressing your guests.
- Versatile Occasion: Ideal for celebrations, yet easy enough for a weekend treat.
- Make Ahead: Prepare components in advance for stress-free assembling.
Ingredients
- 2 ½ cups all-purpose flour
- 2 cups granulated sugar
- ¾ cup unsalted butter, softened
- 4 large eggs
- 1 tablespoon vanilla extract
- 1 cup whole milk
- 1 tablespoon baking powder
- ½ teaspoon salt
- 1 cup heavy cream
- 1 cup caramel sauce, plus extra for drizzling
How to Make Caramel Layer Cake
- Preheat your oven to 350°F (175°C). Grease and flour three 9-inch round cake pans.
- In a large mixing bowl, cream together the softened butter and sugar until light and fluffy, about 3-4 minutes.
- Add the eggs one at a time, mixing well after each addition. Stir in the vanilla extract.
- In a separate bowl, whisk together the flour, baking powder, and salt.
- Gradually add the dry ingredients to the wet mixture, alternating with the milk. Begin and end with the flour mixture. Mix until just combined.
- Divide the batter evenly among the prepared cake pans. Bake for 25-30 minutes, or until a toothpick inserted into the center comes out clean.
- Allow the cakes to cool in the pans for 10 minutes, then transfer them to wire racks to cool completely.
- While the cakes cool, whip the heavy cream until soft peaks form. Carefully fold in the caramel sauce until well combined.
- Once the cakes are cooled, place one layer on a serving plate. Spread a generous layer of the caramel whipped cream on top.
- Repeat with the second layer, then place the final layer on top. Spread the remaining caramel whipped cream over the top and sides of the cake.
- Drizzle additional caramel sauce over the top for a beautiful finish. Slice and serve!
Tips for the Best Results
- Ensure your ingredients are at room temperature for better mixing.
- Do not overmix the batter; this keeps the cake light and fluffy.
- Allow the cakes to cool completely before frosting to prevent melting the whipped cream.
Easy Variations
- Replace the vanilla extract with almond extract for a nutty twist.
- Add layers of chocolate ganache between the cake layers for extra decadence.
- Incorporate chopped nuts, such as pecans or walnuts, into the frosting for added texture.
What to Serve With It
- Fresh berries or a berry compote to balance the sweetness.
- A scoop of vanilla ice cream for an indulgent pairing.
- Coffee or espresso to complement the flavors of the cake.
Storage and Reheating
Store any leftover cake in an airtight container in the refrigerator for up to 4 days. For best results, enjoy it chilled. If desired, let it sit at room temperature for 30 minutes before serving to soften slightly.
Recipe Card
Prep Time: 30 minutes
Cook Time: 30 minutes
Total Time: 1 hour
Yield/Servings: 12 servings
Ingredients:
2 ½ cups all-purpose flour
2 cups granulated sugar
¾ cup unsalted butter, softened
4 large eggs
1 tablespoon vanilla extract
1 cup whole milk
1 tablespoon baking powder
½ teaspoon salt
1 cup heavy cream
1 cup caramel sauce, plus extra for drizzling
Instructions:
1. Preheat your oven to 350°F (175°C). Grease and flour three 9-inch round cake pans.
2. In a large mixing bowl, cream together the softened butter and sugar until light and fluffy, about 3-4 minutes.
3. Add the eggs one at a time, mixing well after each addition. Stir in the vanilla extract.
4. In a separate bowl, whisk together the flour, baking powder, and salt.
5. Gradually add the dry ingredients to the wet mixture, alternating with the milk. Begin and end with the flour mixture. Mix until just combined.
6. Divide the batter evenly among the prepared cake pans. Bake for 25-30 minutes, or until a toothpick inserted into the center comes out clean.
7. Allow the cakes to cool in the pans for 10 minutes, then transfer them to wire racks to cool completely.
8. While the cakes cool, whip the heavy cream until soft peaks form. Carefully fold in the caramel sauce until well combined.
9. Once the cakes are cooled, place one layer on a serving plate. Spread a generous layer of the caramel whipped cream on top.
10. Repeat with the second layer, then place the final layer on top. Spread the remaining caramel whipped cream over the top and sides of the cake.
11. Drizzle additional caramel sauce over the top for a beautiful finish. Slice and serve!
Notes: Ensure all ingredients are at room temperature before starting for the best results.